> ## Documentation Index
> Fetch the complete documentation index at: https://docs.echo.xyz/llms.txt
> Use this file to discover all available pages before exploring further.
# Authentication & OAuth
> OAuth 2.0 authentication for secure API access.
## Overview
Sonar uses OAuth 2.0 with PKCE for secure authentication. Users sign in through Echo's OAuth flow to access their compliance entities and generate purchase permits.
## How It Works
1. **User clicks "Sign in with Sonar"**
2. **Redirected to Echo for authentication**
3. **User signs in or creates account**
4. **User authorizes your application to access their data**
5. **Redirected back to your app with auth code**
6. **Your app exchanges code for access token**
7. **Token used for API calls (entities, permits, etc.)**
```mermaid theme={null}
sequenceDiagram
participant Client as Your App
participant Browser as User Browser
participant EchoAuth as Echo Authorization Server
participant EchoAPI as Echo API Server
Note over Client, EchoAPI: OAuth 2.0 Authorization Code Flow with PKCE
Client->>+Browser: 1. Initiate authorization request
Browser->>+EchoAuth: 2. GET /oauth/authorize with parameters
EchoAuth->>EchoAuth: 3. Authenticate user (if not logged in)
EchoAuth->>-Browser: 4. Authorization code in redirect URI
Browser->>-Client: 5. Receives authorization code
Client->>+EchoAuth: 6. POST /oauth/token with code & code_verifier
EchoAuth->>EchoAuth: 7. Validate code_verifier
EchoAuth->>-Client: 8. Access token
Client->>+EchoAPI: 9. Access protected resource with access token
EchoAPI->>-Client: 10. Protected resource (e.g., verification status)
```
## Authentication Configuration
Your OAuth configuration is done through the Founder dashboard. You must configure the following:
* **Redirect URIs**: A list of URIs that are valid for Sonar to redirect to after the authorization process.
* **Scopes**: A list of scopes that the client can request from the user.
* **Branding**: Upload logos and customize the OAuth experience.
### Redirect URIs
When setting up your client, you can add one or more redirect URIs. These are the URIs that Sonar will redirect to after the authorization process.
For local development, you must add the following redirect URI to your client, e.g.:
* `http://localhost:3000/oauth/callback`
URIs containing `localhost` or equivalent hostnames are only allowed in sales with test tenancy to minimize security risks.
### Scopes
When setting up your client, you can choose which scopes are required for you app, and which are optional.
The following scopes are available:
* `read_entities`: Read entity information and eligibility status.
* `sale_eligibility_check`: Check eligibility for sales.
* `contact_email`: Access user's contact email.
To run a sale, you must have the `read_entities` and `sale_eligibility_check` scopes, so these should be required. You can choose to add other scopes as either optional or required. For example, if you want to allow the user to share their email with you, you can add the `contact_email` scope as optional. If you want to require the user to share their email with you, you would add it as required.
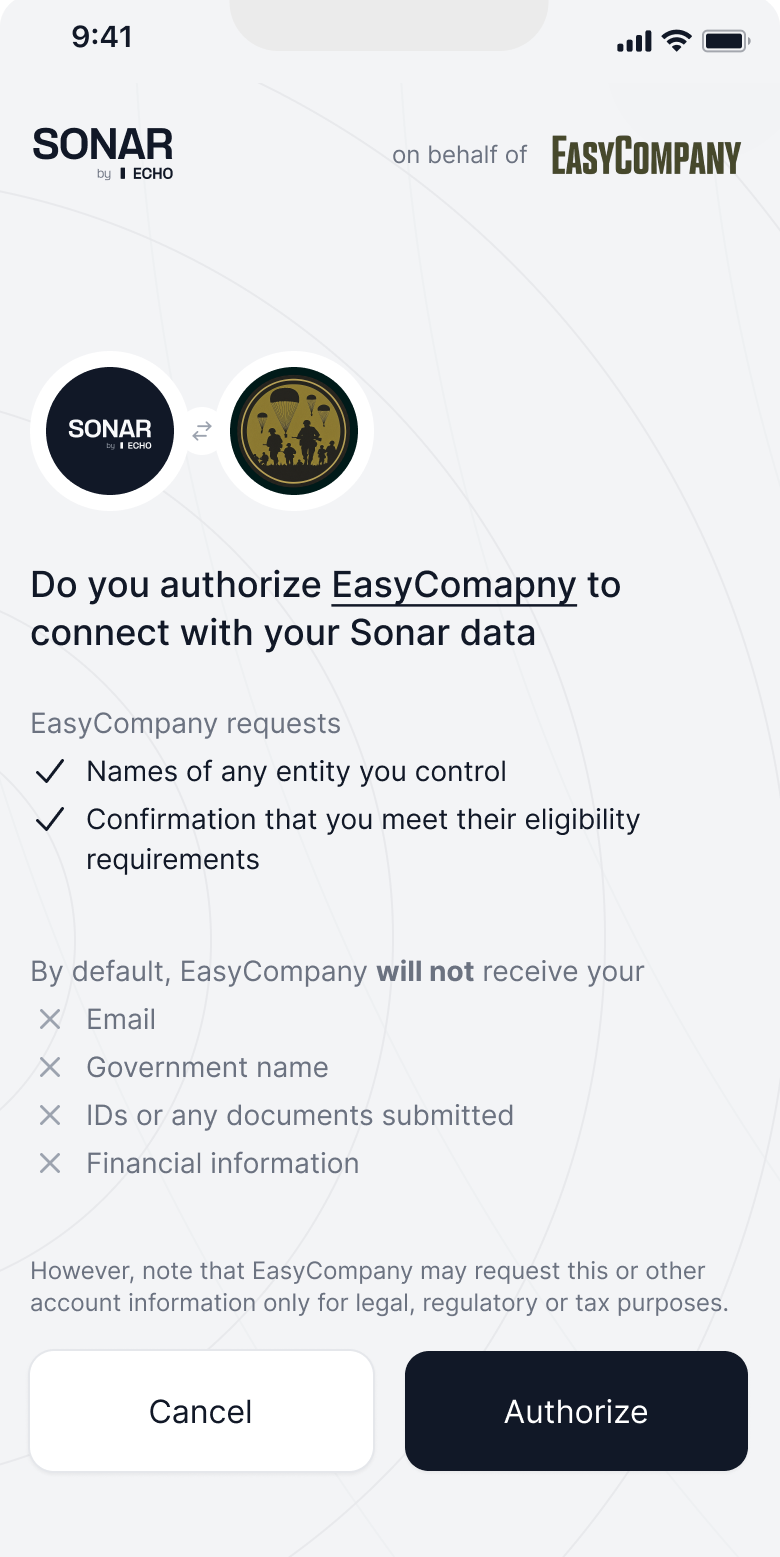
### Branding
You must supply two logos for the OAuth screen: one for the square logo, and one for the wide logo.
An example of how the OAuth screen will look is shown below: